Travel Document Checks at the Airport
Know which documents may be requested at check-in, security, departure and arrival.
8 min read · Updated September 2026

Understand the situation
Airports involve several separate document checks, and understanding which authority performs each one helps you know what to expect and what to have ready. Airline staff at check-in verify that your passport, visa and any required travel authorization match your booking and meet the destination's entry rules, since airlines face penalties for carrying passengers who are later refused entry. Security screening checks your identification against your boarding pass to confirm you are the ticketed passenger, but does not evaluate visa or entry eligibility. Border or immigration officers, encountered when leaving your home country in some places and almost always when entering a destination country, make the final decision on entry and can ask questions beyond what airline staff checked. Each of these checks is independent, so clearing one does not guarantee you will automatically clear the next, and documents accepted at check-in can still be questioned further at immigration. Knowing this structure in advance means you are not surprised when a second or third official asks the same question in a different way, since each one is checking for a different purpose rather than repeating an earlier check unnecessarily.
What to do first
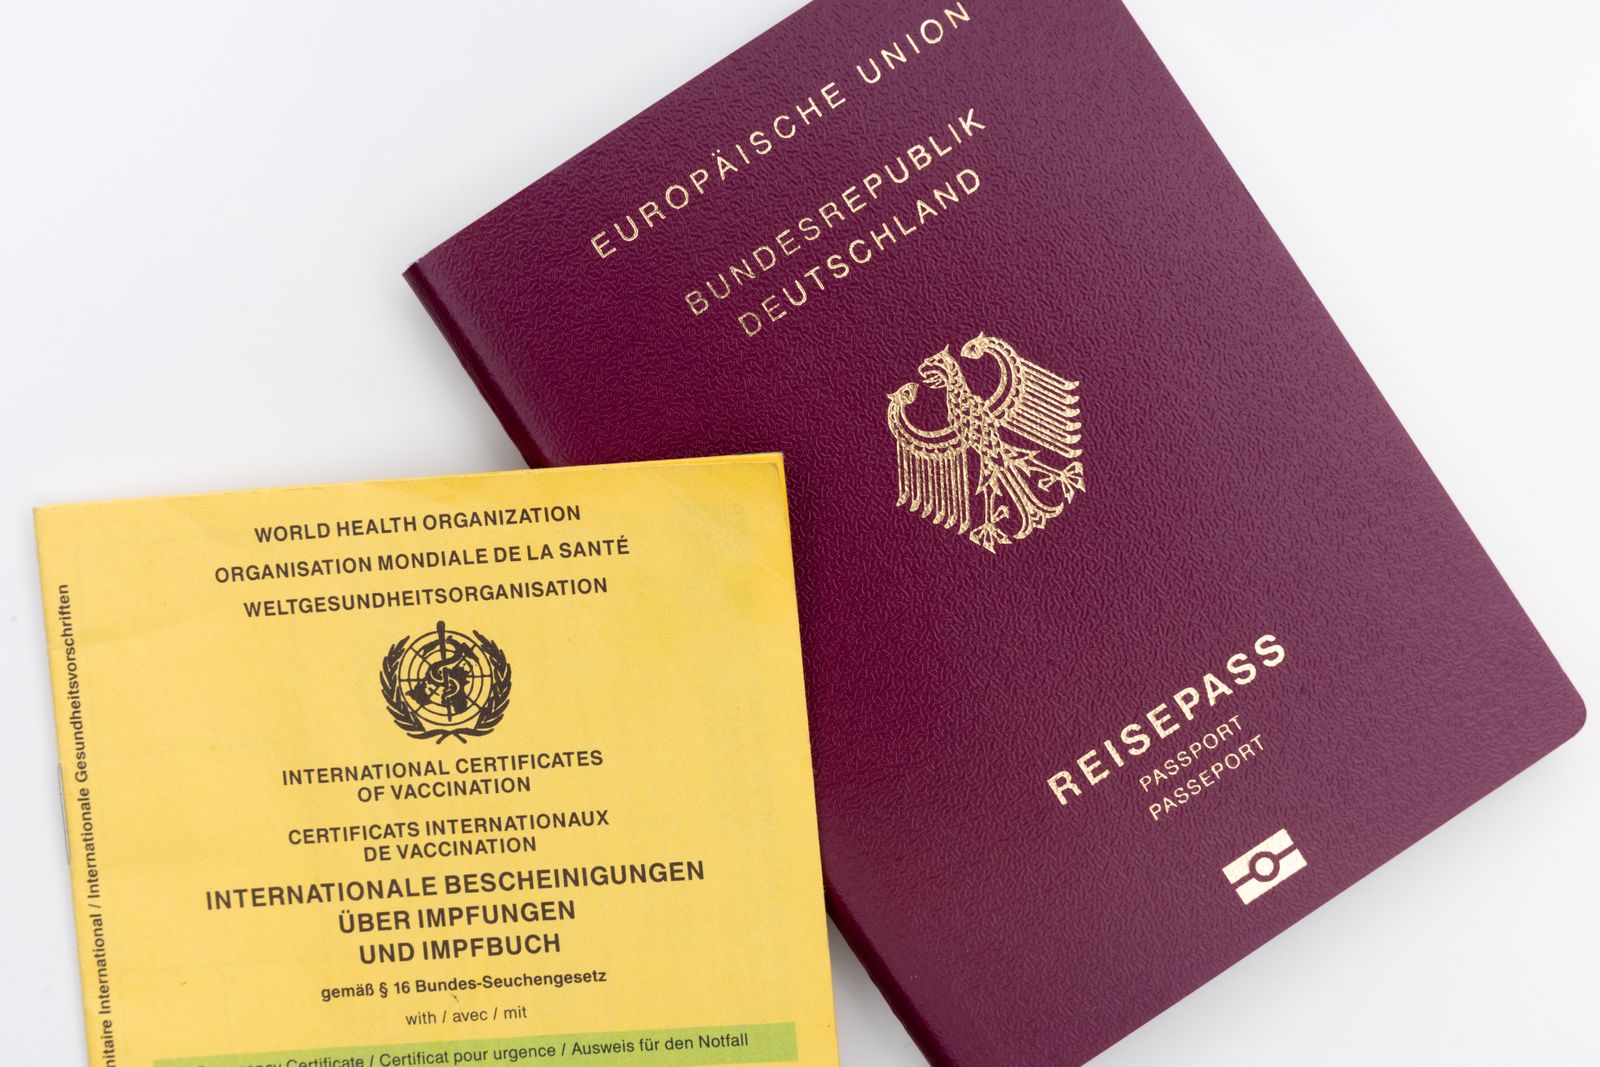
Before leaving home, lay out every document you will need in the order you will likely use them: passport, visa or entry authorization printout, boarding pass, and any required additional paperwork such as a return ticket proof or proof of accommodation. Check that your passport photo page is clearly legible and not damaged, since even small tears can cause delays at automated or staffed checks. If you are carrying a printed visa or entry authorization, bring both a printed copy and a saved digital copy, since some counters request a physical document while others accept a phone screen. Arrive at the airport with enough time to handle an unexpected question at any single checkpoint without missing your flight, since document checks can take longer than usual if a detail needs clarification.
What to check
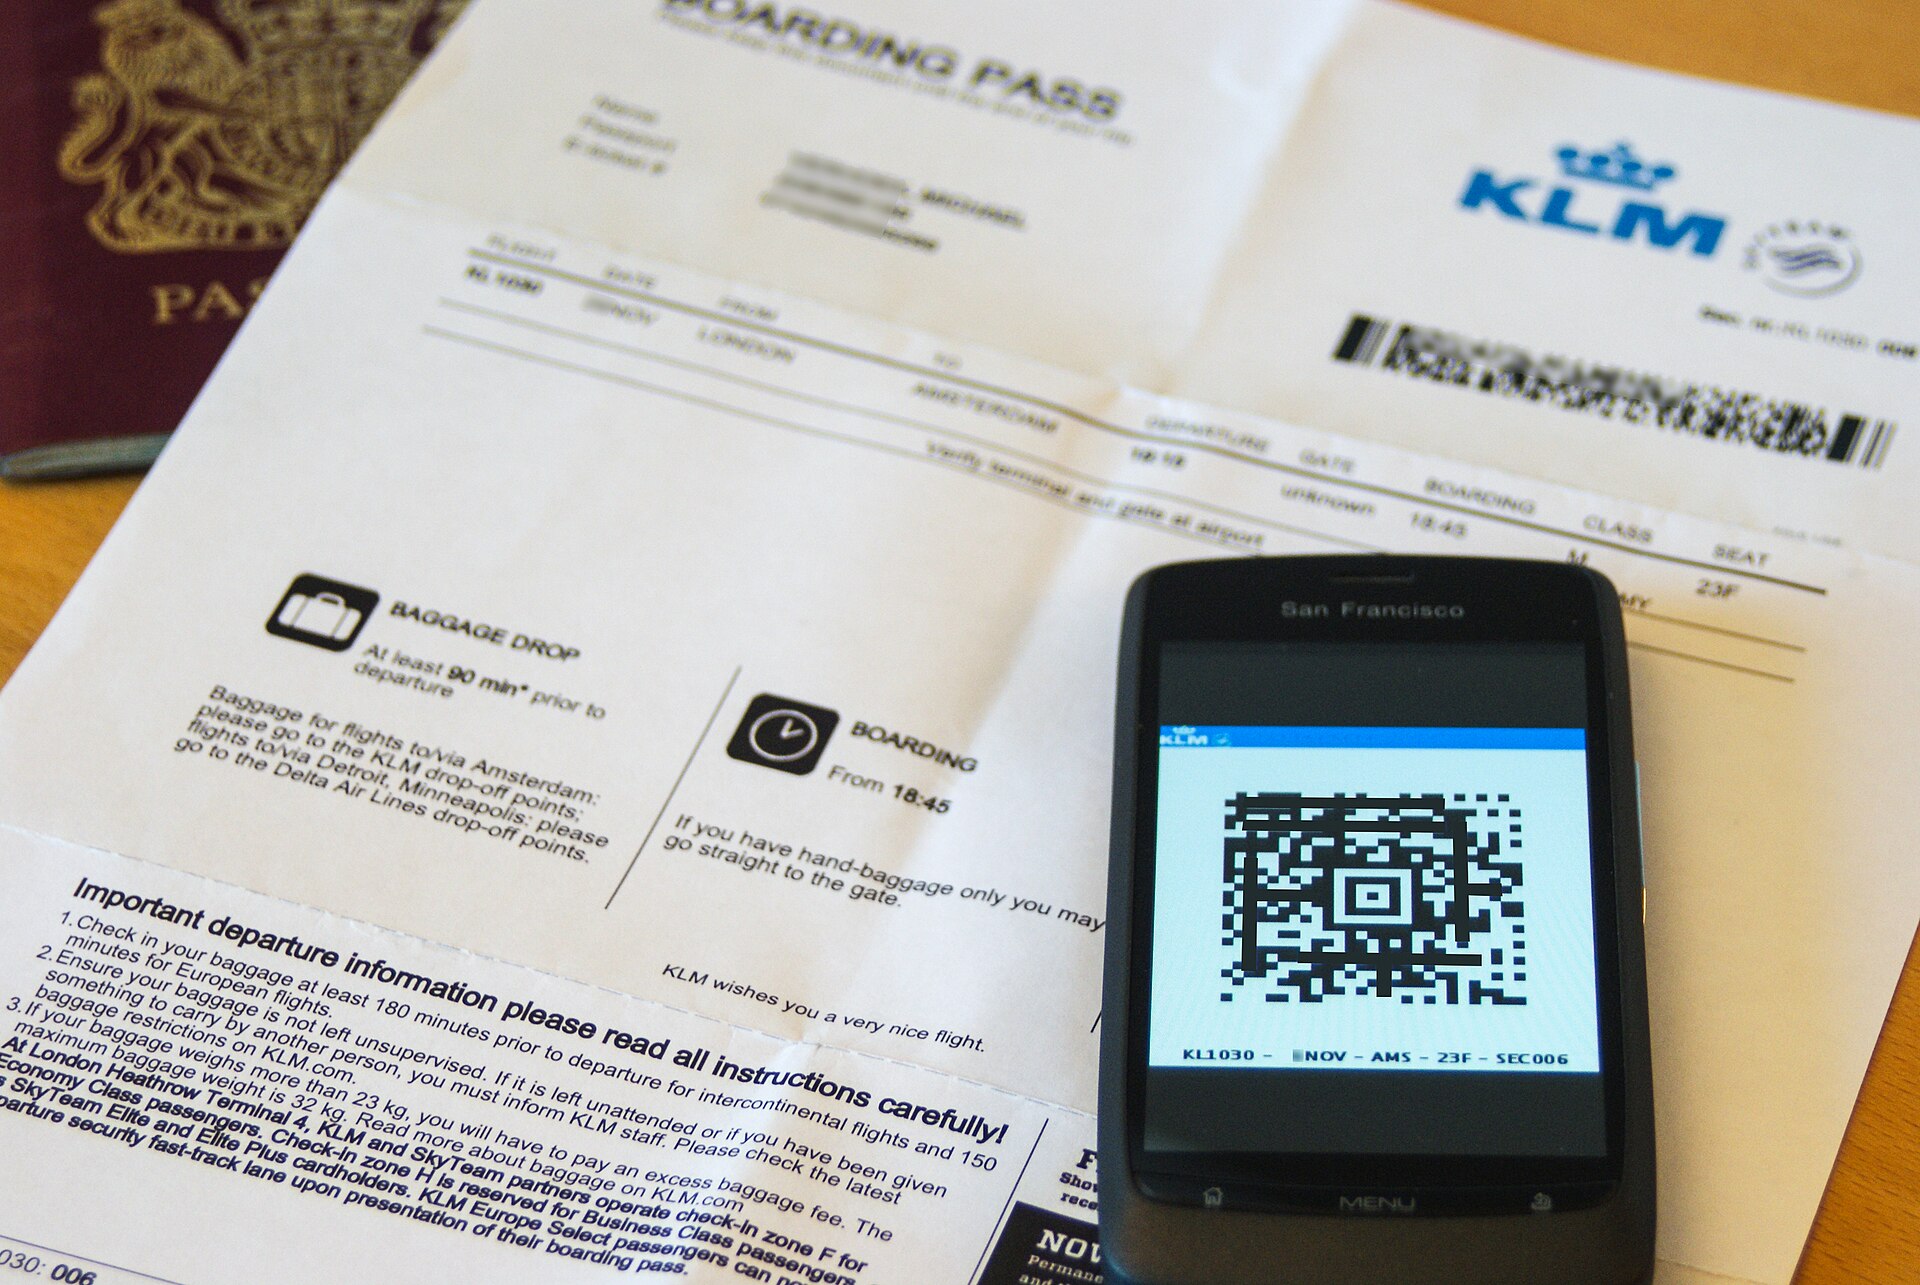
Confirm which documents your specific destination requires beyond a passport, such as a visa, electronic travel authorization, proof of onward travel, or proof of sufficient funds, since requirements vary significantly by country. Check that names on your passport, boarding pass and any visa match exactly, since mismatched spelling or formatting can trigger additional questioning even when the discrepancy is minor. If traveling with a connecting flight through another country, check whether that country requires you to clear immigration during the layover, which would mean an additional document check beyond your final destination's requirements. Check the specific format required for any printed authorization, since some countries require a particular paper size or a barcode that must be clearly scannable rather than a screenshot.
Useful note: An airline document check is not a promise of admission. The destination's border authority makes the entry decision.
Where to get help
Airline check-in staff can confirm whether your documents match what their system shows is required for your route, and they are a useful first check before you proceed further into the airport. Immigration or border officials are the final authority on entry decisions and can answer specific questions about your situation at the counter, though they generally will not pre-clear you before your travel date. For questions before you travel, the destination country's embassy, consulate or official government travel website is the most reliable source. Airport information desks can direct you to the correct checkpoint but do not make entry decisions. If a specific document requirement is unclear, confirming with the airline's documentation help line before departure is more useful than guessing and discovering a problem at the gate.
Keep useful records
Keep a printed and a digital copy of every required document, stored separately in case one becomes unavailable, such as a phone running out of battery or a printed page being damaged. Note any reference or confirmation numbers associated with visas or travel authorizations, since officials may ask for these rather than the full document. If you are asked additional questions at any checkpoint, note what was asked and how it was resolved, since this can help with a connecting flight or a return journey through the same route. Keep boarding passes and stamped documents until well after your trip, since some destinations or employers may later request proof of travel dates.
Practical notes
Answer questions at any document check calmly and directly, providing only the information asked for rather than volunteering unrelated detail that could create confusion. Do not assume that passing one checkpoint guarantees success at the next, since each authority checks different things for different reasons. If a document issue is identified before departure, resolve it with the airline or embassy in advance rather than hoping it will be overlooked at the airport, since unresolved issues are far more likely to cause a denied boarding or a difficult conversation at an immigration counter. Keep all travel documents physically together in one bag pocket throughout the journey so you are not searching multiple bags under pressure at a checkpoint. Treat every checkpoint as a fresh review rather than an inconvenience, since consistent and complete documents at each stage are what keep the overall journey moving smoothly.
Related guides
Passport and Visa Basics Before You Fly
Check official requirements early and make sure names, validity and transit rules match your trip.
Read guide
What to Do if Travel Documents Are Missing
Secure your accounts, contact the right authority and avoid relying on unverified shortcuts.
Read guide