Getting Through Airport Security
Prepare your belongings, follow local instructions and leave enough time for screening.
8 min read · Updated September 2026
Understand the situation
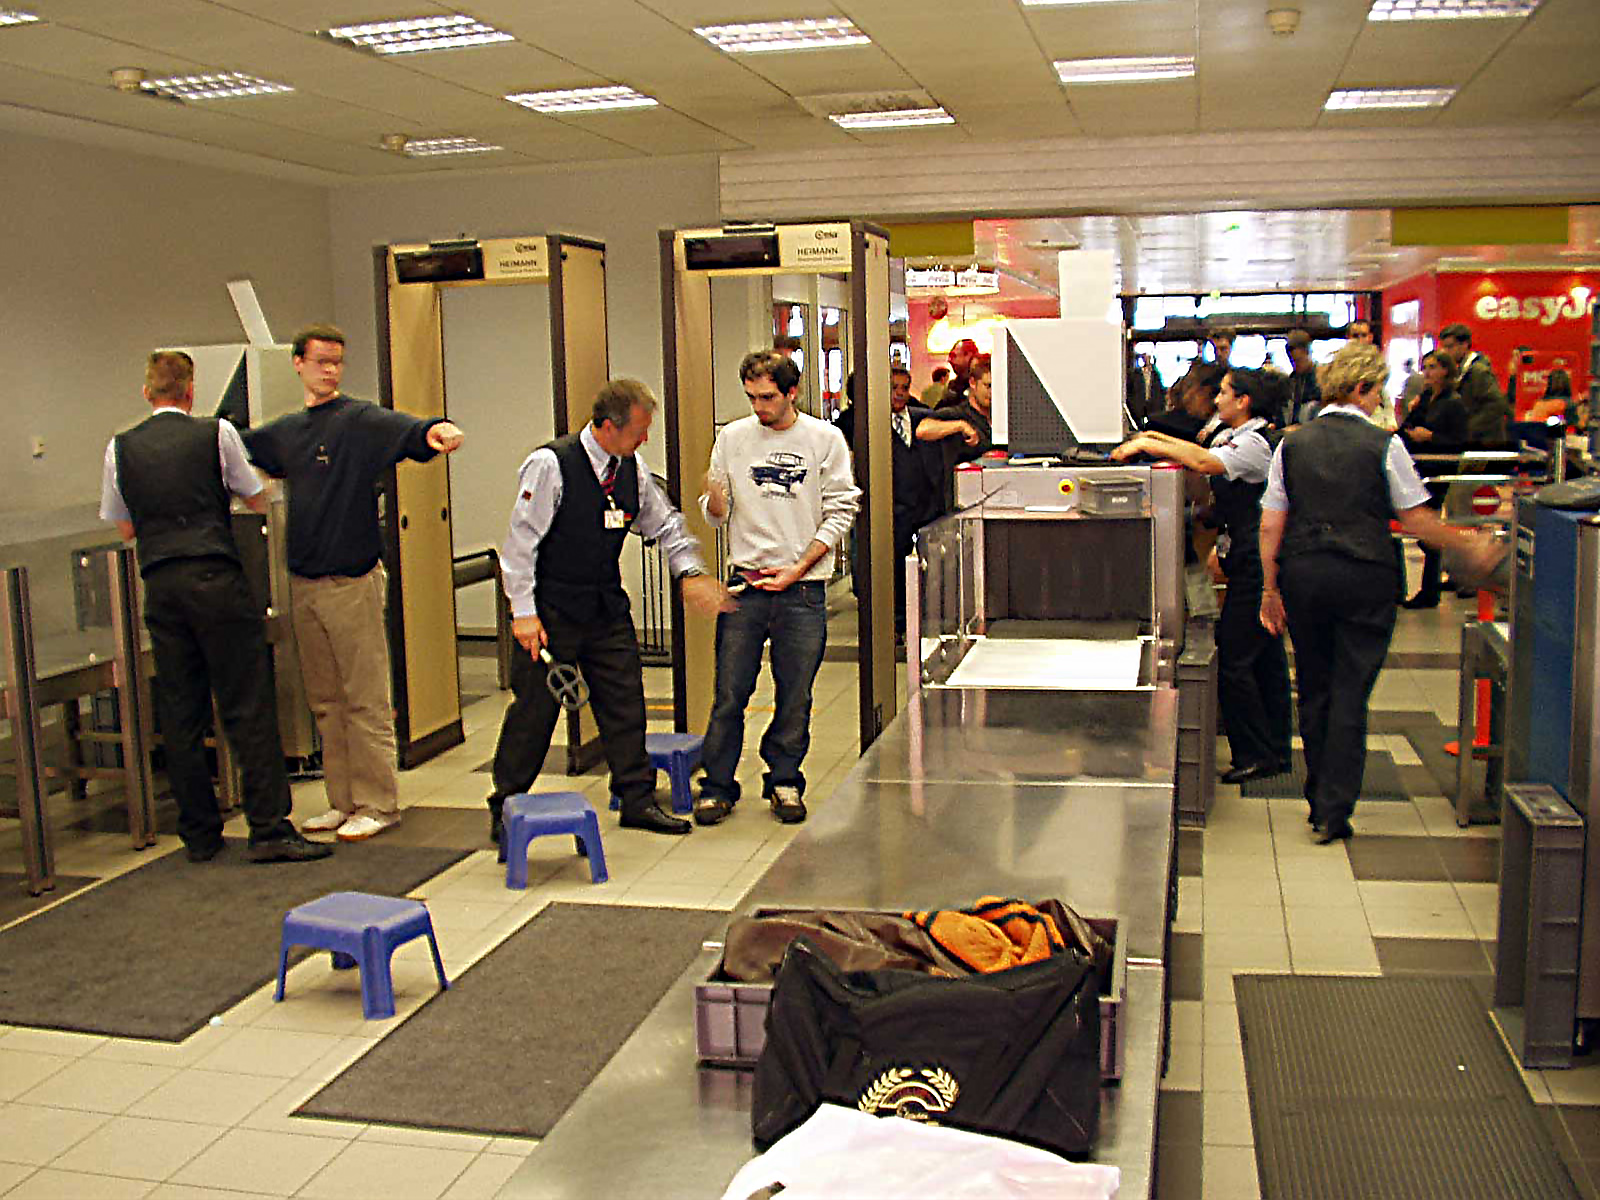
Security screening exists to check passengers and carry-on items before they reach the departure area, and while exact procedures vary between airports and countries, most checkpoints follow a broadly similar structure. The line moves faster, for you and everyone behind you, when you know roughly what is coming: documents checked, belongings placed in trays, a walk through a scanner, and then a chance to repack before heading further into the terminal. There is no single worldwide rulebook for exactly what must come out of a bag or how liquids are packed, since individual checkpoints set the specifics, so treat posted signage at your own airport as the current word rather than relying on memory from a previous trip somewhere else entirely. For a first-time flyer especially, simply knowing the rough order of events in advance removes most of the uncertainty that makes the checkpoint feel intimidating.
What to do first
Have your boarding pass and an identification document out before you join the queue, on your phone or on paper, since some checkpoints use automated gates that read a boarding pass directly while others rely on an officer checking it by hand. As you approach the trays, start removing laptops and other large electronics so they can be scanned separately, and group liquids, gels, and aerosols together in an easily accessible pouch. Empty your pockets completely into a tray rather than leaving items on your body, since metal objects are a common trigger for a secondary check that slows the line further. Place your tray and bags on the belt, then walk through the scanner when the lane ahead is clear and staff direct you forward. If you wear a watch or jewelry, some checkpoints ask you to remove larger pieces, though smaller items often pass through without any issue depending on the equipment in use that day.
What to check
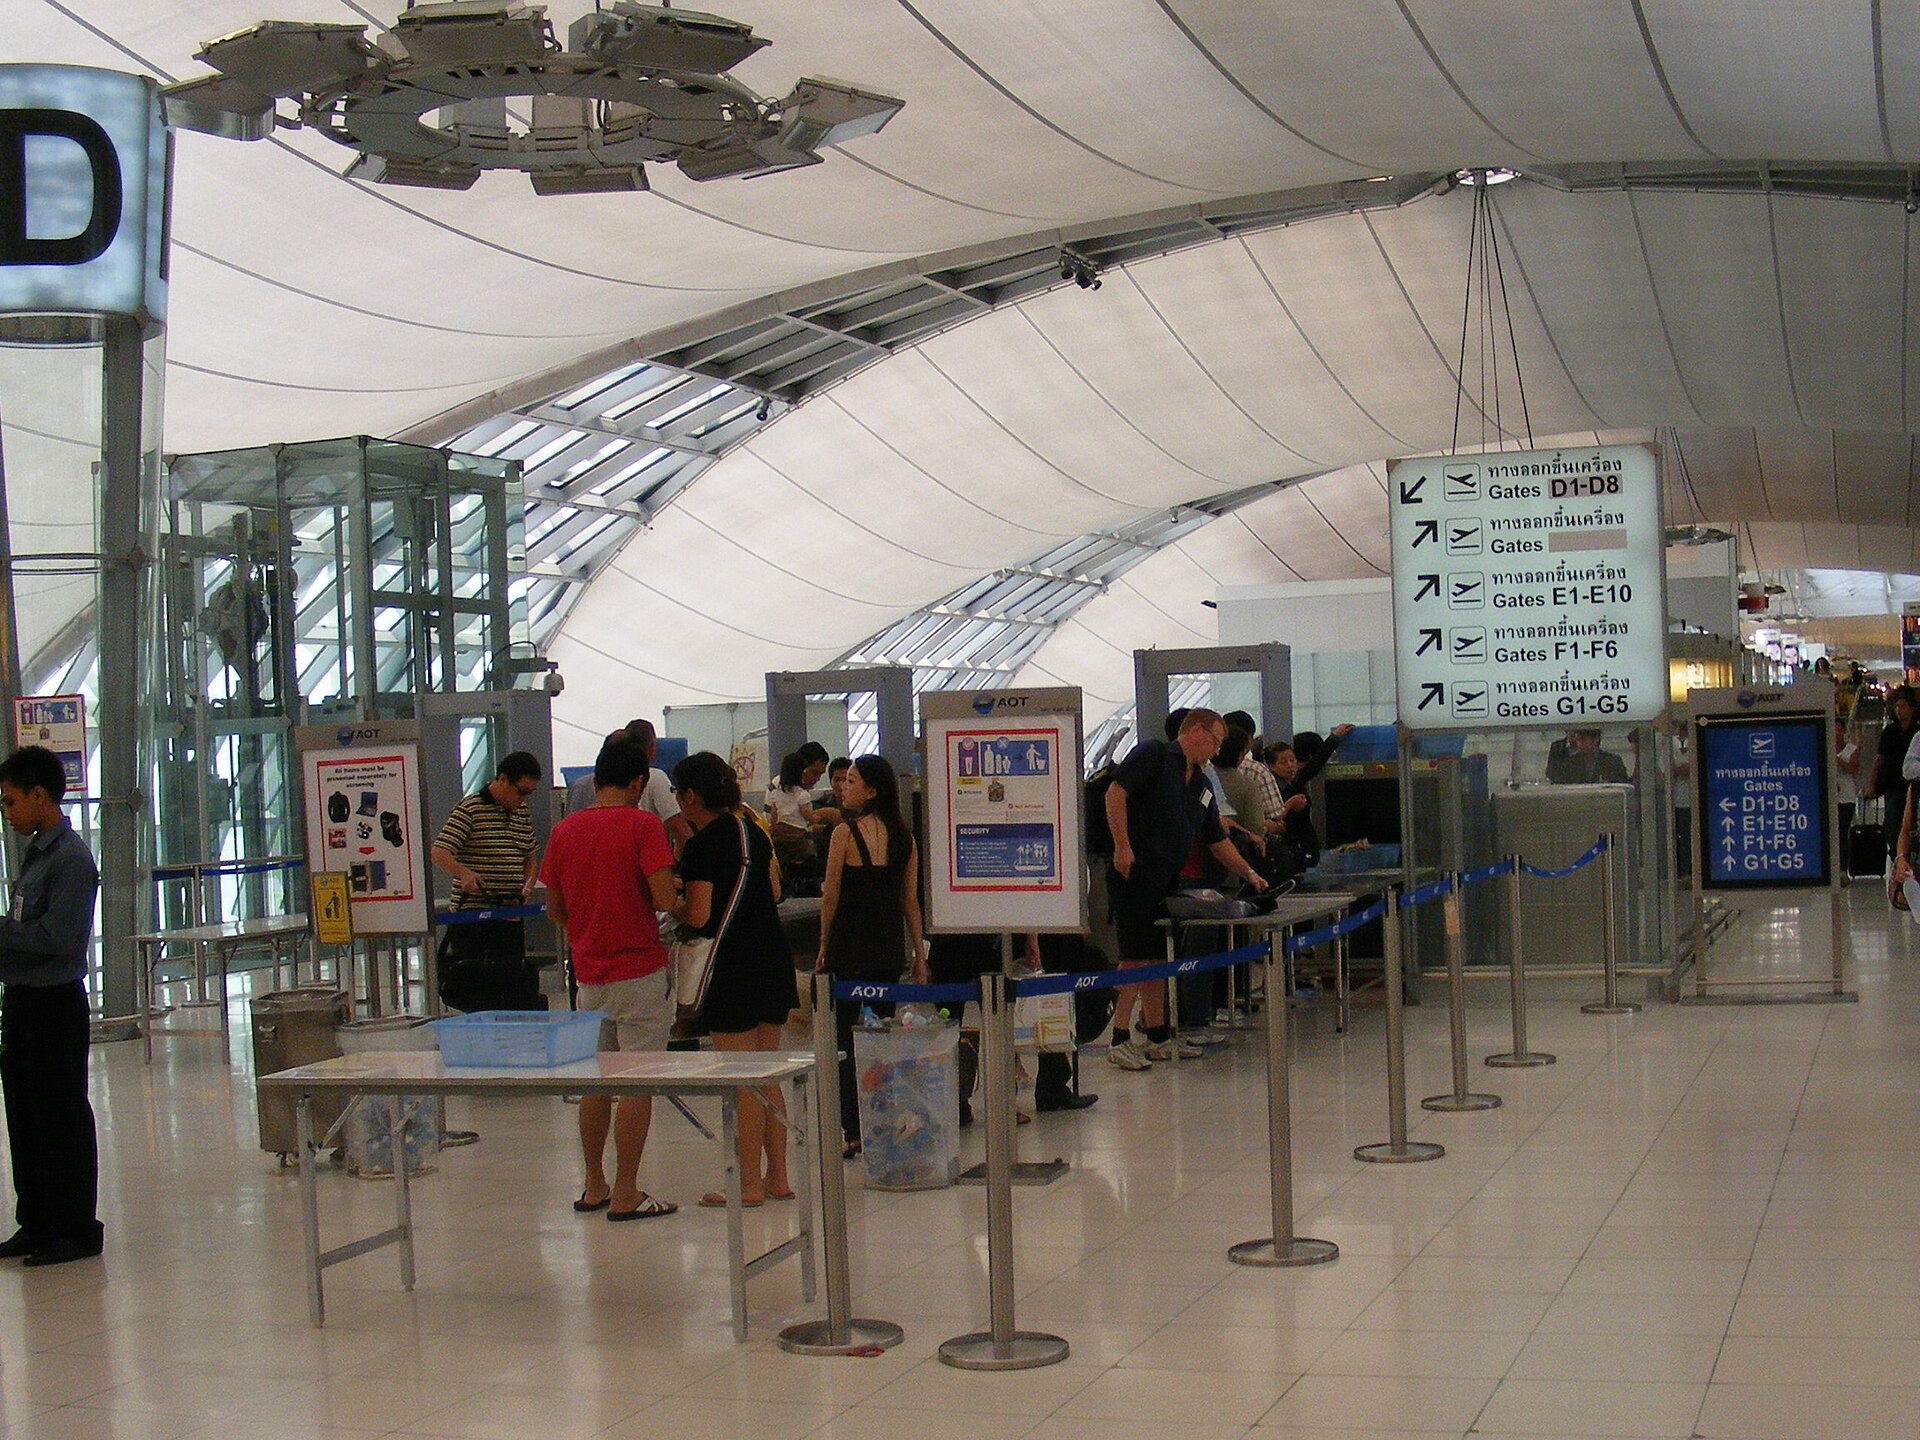
Watch the signage or ask an officer about any current equipment-specific steps, such as whether shoes, belts, or jackets need to come off at that particular checkpoint, since this differs by airport and changes over time rather than following one fixed standard everywhere. If you are traveling with children, mobility aids, or carrying medication, mention it before you begin, since these may be screened differently than standard carry-on items, and it is worth keeping medication in its original packaging and being ready to explain it if asked. Anyone with an implanted medical device should also let staff know in advance, since not every scanner is suitable for every traveler, and checkpoints handle this on a case-by-case basis. Liquids rules in particular tend to specify a maximum container size and a combined total, so check the specific allowance posted at your departure airport rather than assuming it matches one you remember from elsewhere.
Useful note: Listen to the instructions at your actual screening lane; equipment and procedures can differ even within one airport.
Where to get help
If the scanner flags something for a closer look, such as a pat-down, a bag search, or a swab test, this is a routine part of the process rather than a sign something is wrong, even though it can feel unsettling the first time. Officers are generally used to explaining what is happening and what they need from you, so ask questions if anything is unclear rather than guessing. Staff near the checkpoint can also advise travelers with unusual items, from musical instruments to sports gear, on whether those need a different screening path, and most are willing to walk a nervous traveler through the steps if asked. If you are traveling in a large group and get separated during screening, agreeing on a meeting point just past the checkpoint beforehand saves time compared with trying to locate each other amid the crowd afterward.

Keep useful records
Hold onto your boarding pass and identification after you clear the checkpoint, since you may be asked to show either again at the gate or during a random check elsewhere in the terminal. If anything is confiscated or questioned, note what happened and ask for a receipt or written explanation if one is offered, since this can help if you need to follow up with the airport authority afterward. There is no universal rule guaranteeing when or how often documents will be rechecked, so simply keep them within reach rather than burying them in a bag. Keeping a mental note of which tray held which item also helps if something seems to be missing once you repack. If a liquid or item is removed because it exceeded a limit, ask the officer what the specific rule was, since this can help you avoid the same situation the next time you travel.
Practical notes
Once cleared, collect your tray promptly so the area stays clear for the next traveler, then move a short distance away before repacking your bag, replacing your shoes and belt, and gathering your electronics, rather than reorganizing everything right at the end of the belt. Past this checkpoint you are in the departure area with shops, food, and further screens showing your gate information, though some airports route specific flights through an additional check later on. Keep your boarding pass handy as you move through the terminal, since the steps that remain are mainly about finding your gate and waiting comfortably for your boarding group to be called forward.
Related guides
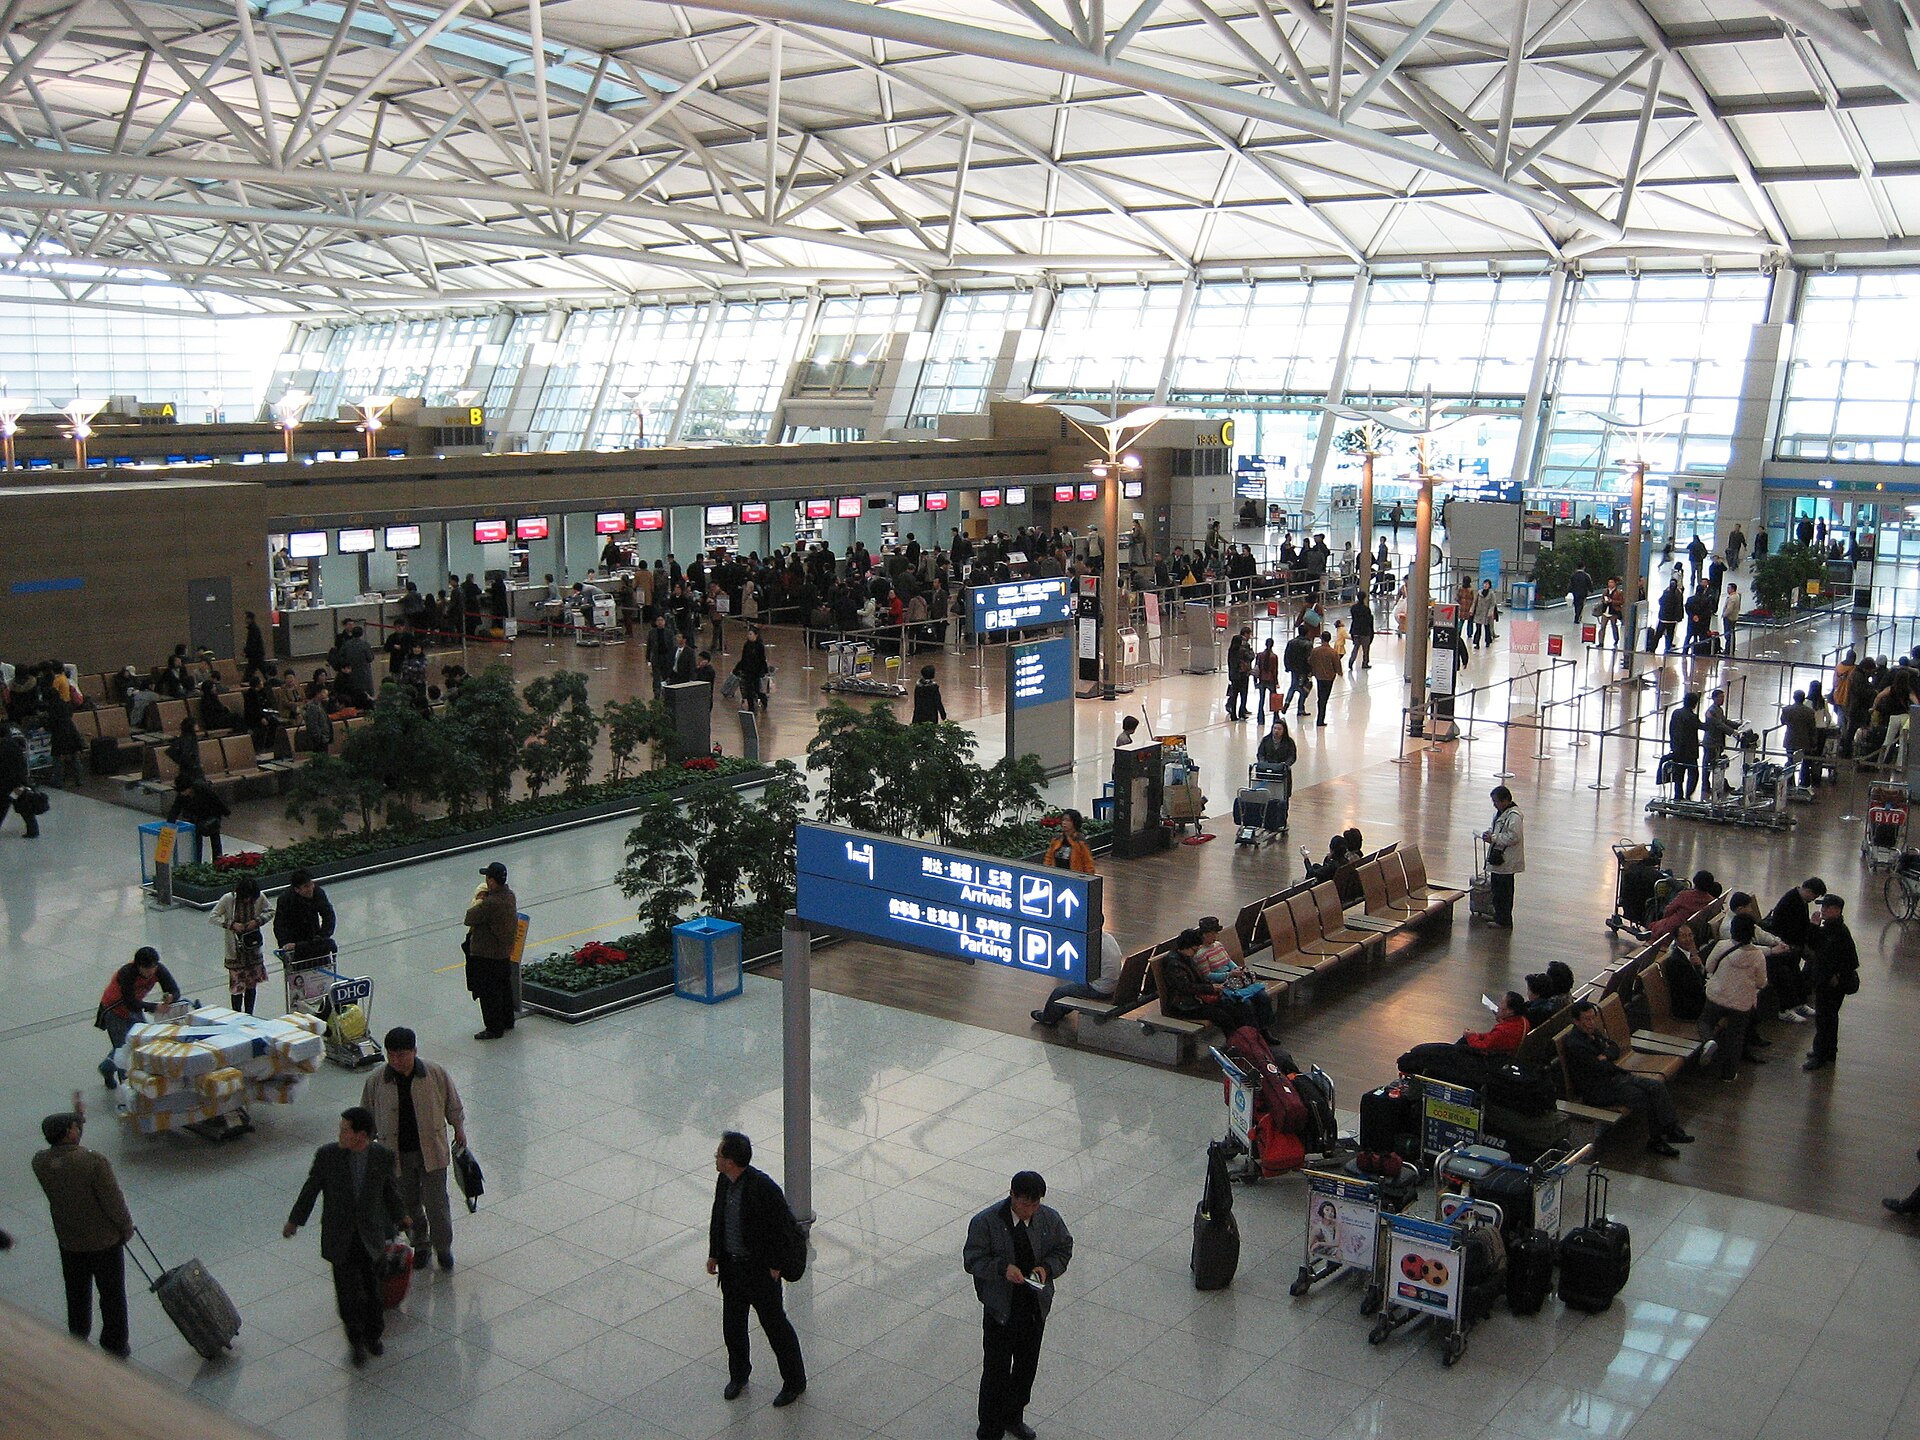
First Time at an Airport: Step-by-Step Guide
Follow the airport journey from the entrance to your seat without guessing what comes next.
Read guide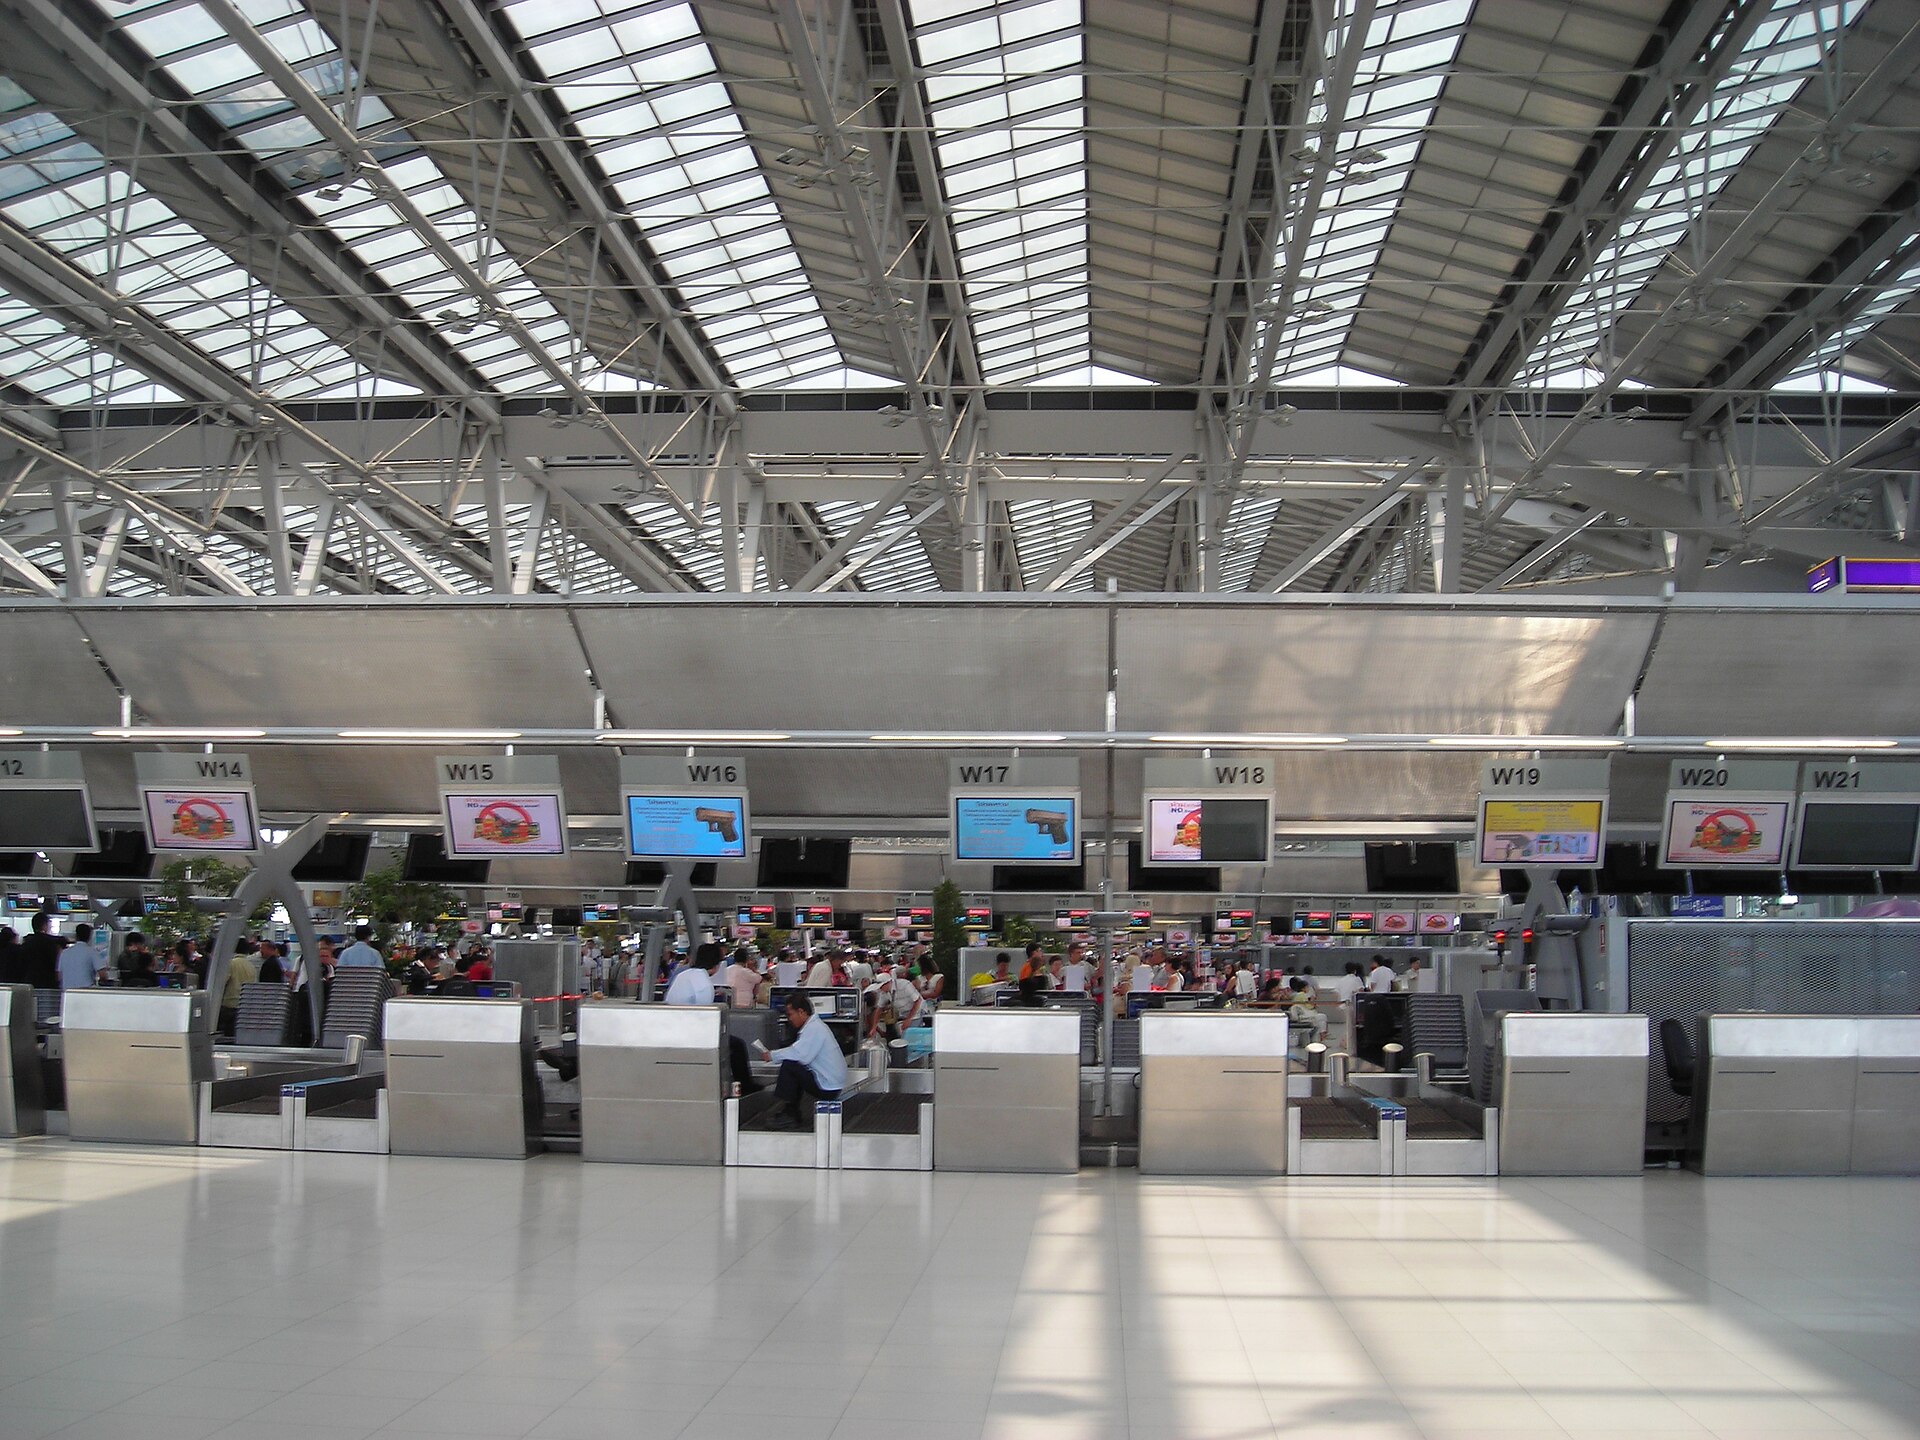
Airport Check-in and Baggage Drop
Understand desk check-in, self-service kiosks, bag drops and the documents you may need.
Read guide
Finding Your Terminal and Gate
Read the signs and screens, check for changes and estimate the walk before boarding starts.
Read guide